

 English
 中文简体
中文简体Proper alignment procedures are crucial when installing an automotive timing belt to ensure that the engine's components remain synchronized and function correctly. Here are the critical alignment procedures that should be followed:
1.Align Crankshaft and Camshaft Marks:
Examine the engine's service manual or manufacturer's instructions to identify timing marks on the crankshaft and camshaft sprockets.
Ensure that these timing marks are correctly aligned according to the specified settings for your engine model.
Use appropriate tools, such as timing pins or alignment tools, to achieve precise alignment.
2.Tensioner Alignment:
Position the timing belt tensioner according to the manufacturer's guidelines, ensuring that it is correctly aligned with the timing belt path.
Verify that the tensioner is securely fastened to prevent any movement during operation.
4.Pulley Alignment:
Inspect all pulleys, including idler and accessory pulleys, for proper alignment with the timing belt.
Misaligned pulleys can lead to premature wear and excessive friction, potentially causing belt failure.
Correct any misalignment issues before proceeding.
5.Belt Direction:
Confirm that the timing belt is installed in the correct direction of rotation.
Many timing belts have directional arrows or labels indicating the correct orientation.
Installing the belt backward can lead to significant engine damage.
6.Tension Adjustment:
Use the manufacturer's recommended procedure for setting the proper tension on the timing belt.
This may involve using a specialized tensioner tool or measuring the belt deflection at a specified point.
Adequate tension is crucial for maintaining synchronization and preventing belt slippage.
7.Tensioner Release:
If the timing belt tensioner includes a pin or locking mechanism, only release it after completing the alignment and tensioning steps.
Ensure that the tensioner functions correctly and maintains the desired tension once released.
8.Crankshaft Position:
Rotate the crankshaft manually through at least two full revolutions to confirm that there is no interference between the pistons and valves.
If interference occurs, immediately halt the process and rectify the alignment issue.
Interference can result in severe engine damage.
9.Check Alignment Periodically:
After the initial installation, periodically recheck the timing belt's alignment, especially after a few hundred miles of operation.
This helps ensure that the timing belt maintains the correct alignment as it settles in.
10.Double-Check:
Prior to starting the engine, conduct a final inspection to verify that all alignment marks, belt tension, and pulley positions are correct.
Pay close attention to the alignment marks' positions and the tensioner's function.
11.Torque Specifications:
Use a calibrated torque wrench to tighten all bolts and fasteners associated with the timing belt components.
Refer to the manufacturer's specified torque values to prevent over-tightening or under-tightening, both of which can lead to issues.
12.Record Alignment:
Maintain detailed records of the alignment positions, including photographs if feasible.
These records serve as a valuable reference for future inspections and ensure that the timing belt remains correctly aligned over its lifespan.
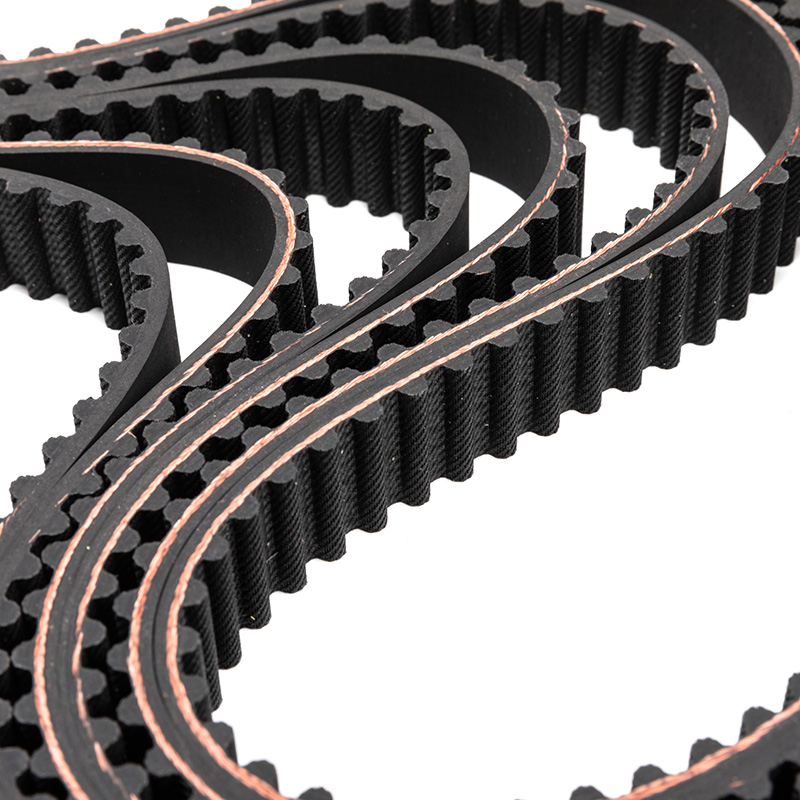
Timing belts are mainly designed for power transmission, which is suitable for different kinds of velocity changes and high temperatures. The belts have the feature of perfect tooth shape, long service life, less noise, a high force of driving, better driving precision, and better wearable performance.


 View More >>
 View More >>
 View More >>
 View More >>
 View More >>
 View More >>
 View More >>
 View More >>
 View More >>
 View More >>
 View More >>
 View More >>